
I started to get some ground foam down and then realized a little
too late that I needed to get the crossing installed first. While the
glue was still wet I swept the ground foam away from the area where the road
was going to go. A couple of nights later I gathered up the tools
and the wooden crossings needed and started the process. I wanted to try
using styrene for the road.
I've always been impressed with the look of the roads that Dave Foxx made on
his layout, so I thought I'd give it go. I did use styrene on another
crossing in Haskell that worked out pretty good, I got it painted but never
finished it off for some reason?
I first removed the inner spike heads in this area of track so the
crossings would fit. I used two single width crossings. I angled
the ends a bit to account for the radius, then I removed the
ballast next to the track.
I planned to keep the road pretty level leading up to the crossing
from the fascia and then let it slope down into the scrap yard. I used
the same thickness of cork that I used for the track roadbed and then chose
0.30" styrene which will keep it just under the railhead so I won't be so
apt to scrape and scuff it when I clean the track. However this section of
track will be modeled as track that hasn't been used in years, so I shouldn't
need to clean it much.
This is also the same section of track where I leave some MOW cars
sitting during Ops and they won't block the crossing, so it shouldn't be a
problem.
The following images are just for pictures, nothing is glued down
other than the cork.
Removal of the spikes and ballast shoulder.

Crossings laid in place.

Cork positioned and glued.
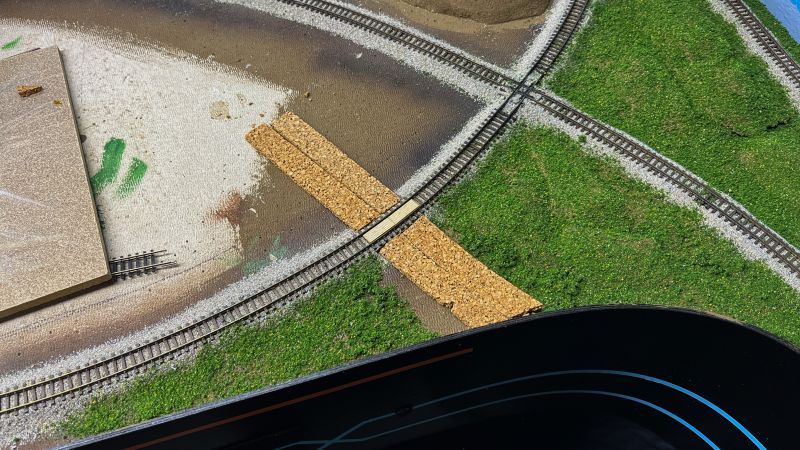
Styrene cut, fitted and laid in place.

It's kind of hard to see, but if you look close at the front rail, you can see the top of the railhead protruding above the styrene.

No comments:
Post a Comment