Sunday, January 30, 2022

Whitewater Creek

Last week I picked up some 2mm & 5mm thick brown craft foam to get started with the formation of the creek.


After a little bit of doodling I cut some to form the banks of the creek and test fitted the bridge to make sure three of the bents were going to sit in the water.  Then glued it all in place.


The area in front of and under the bridge will be at this level: 7mm above the creek surface.  Most of this area will be covered by tall static grass pretty much right up to the water's edge as per the prototype.  Before the grass goes down I'll add some sculptamold to the make the surface a little more uneven in front of the bridge.


I started cutting the bottom of the bents to match the landform by removing 7mm (thickness of the craft foam) off the bottom of all the bents (except the three that would be sitting in the water). I sliced up some tape to 7mm and applied it to the bents as a guide.  Using more cut tape, I removed another ~1/8" from all of the bents so the bridge would match the height of the existing tracks.


Next I mixed up some Ground Goop and added it the edges of the craft foam to form the creek banks just under the bridge, for now.  I'll add the rest when I get the rest of the thicker foam set in place. 


It may seem like I'm doing this the hard way, but if I had planned for the bridge before laying the track and getting it ballasted, I'm sure it would have been a much easier process?


Sunday, January 23, 2022

A clean slate in Fordyce, well kind of...

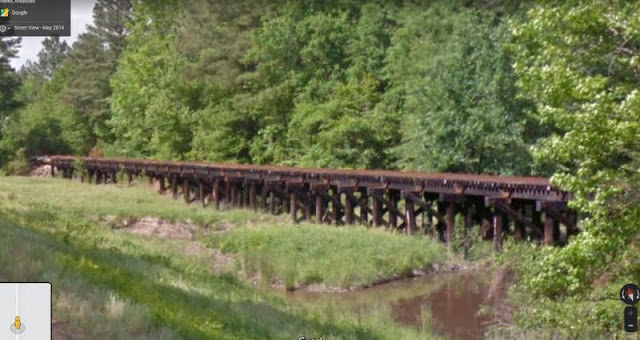
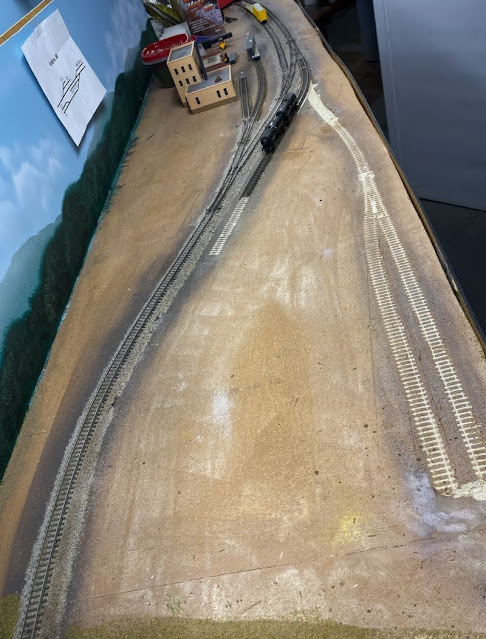
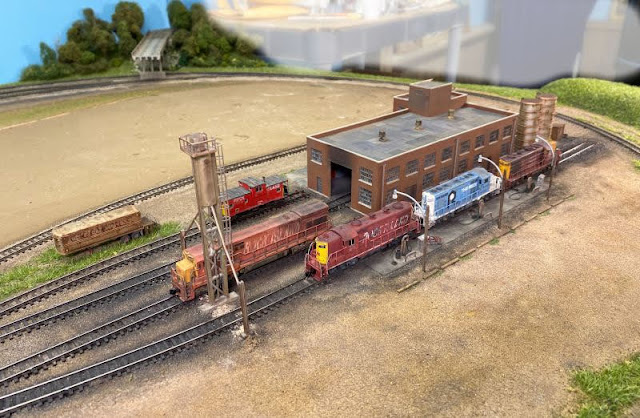
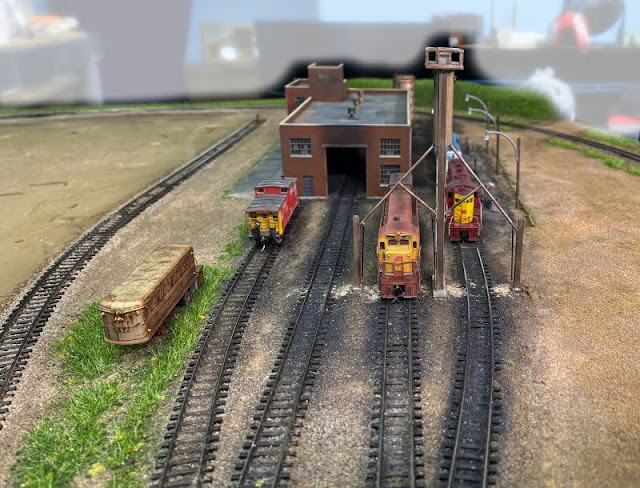
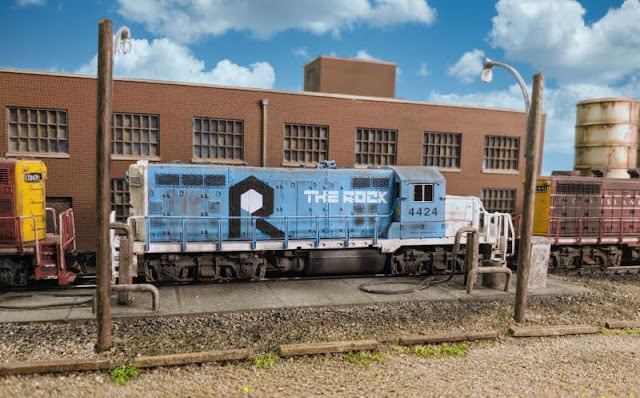
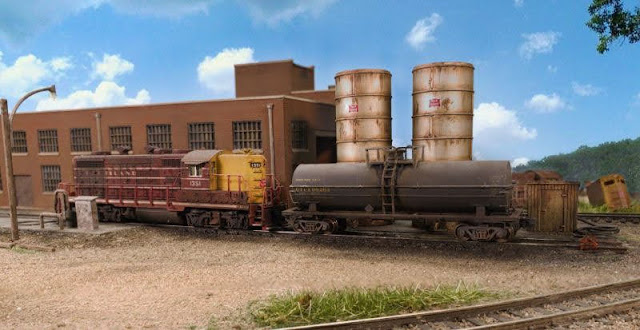
I stopped working on the engine facility and decided to find another project, preferably one that was a little simpler and easy to wrap up and keep moving.  But then, as always, I decided to keep pushing myself. I decided to add a simple bridge, this shouldn't be too hard, right?
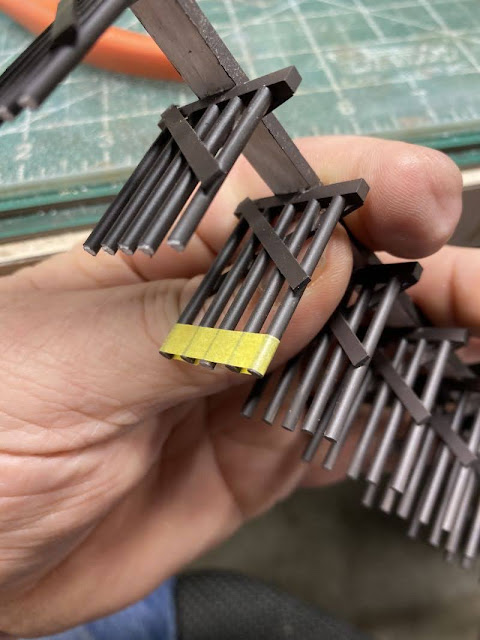
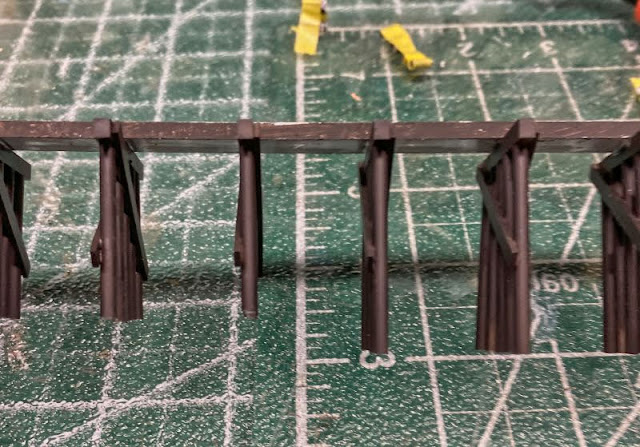
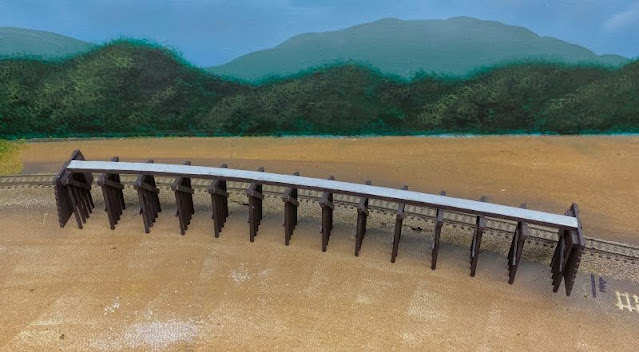
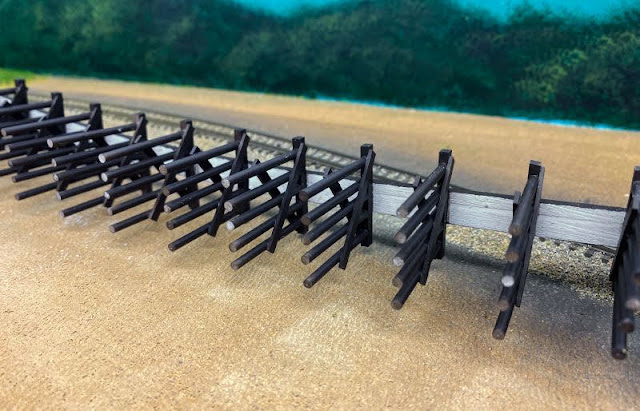
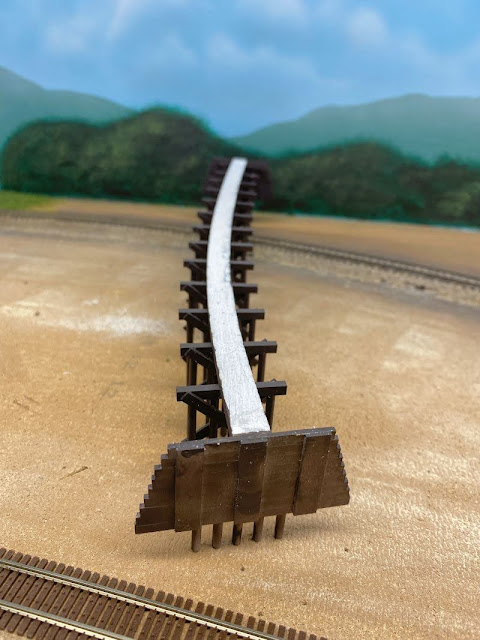
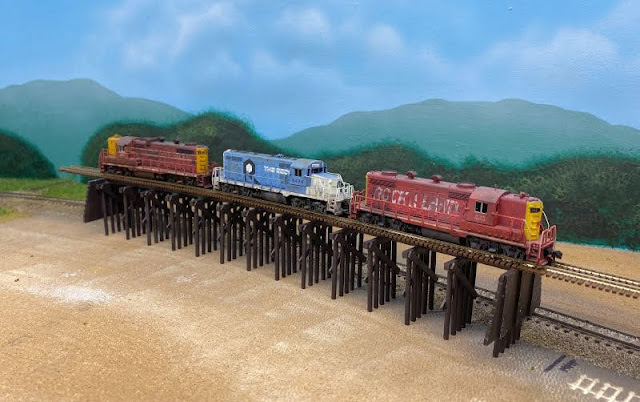
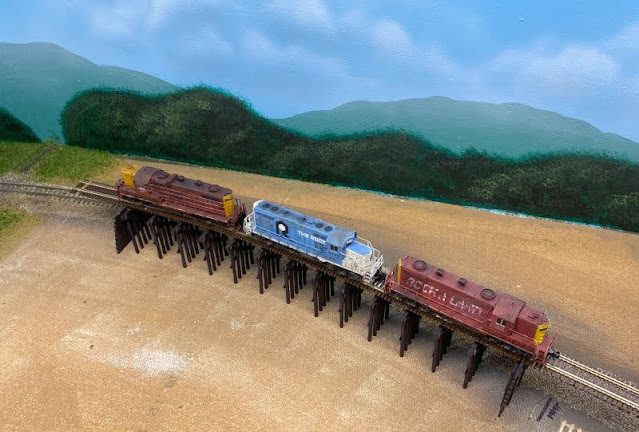
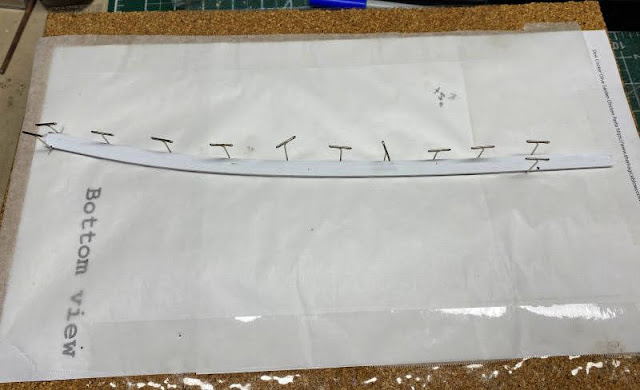
The bridge so far has been the easiest part.

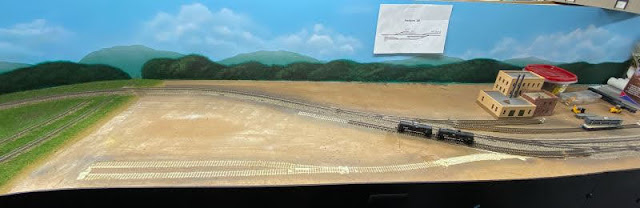
I've been wracking my brain with this scene for the last week or so. There seems to be two ways to go about this.

Start carving things out from the top down or tear out the ceiling tile and foam all together and rebuild it from the bottom up.

Carving might be fairly easy and then fill things back in with sculptamold which probably wouldn't be all that bad, but the mess could be substantial since the ceiling tile will be dusty and the white foam could cover the basement with white pellets. Using a soldering iron or the purchase of a foam cutter could make this a little less messy?

So I have chewed on this pretty hard, almost like making the decision to buy a new car? I've actually almost lost a nights sleep over it and I figure I've about wore out a couple friends running ideas past them....maybe not?

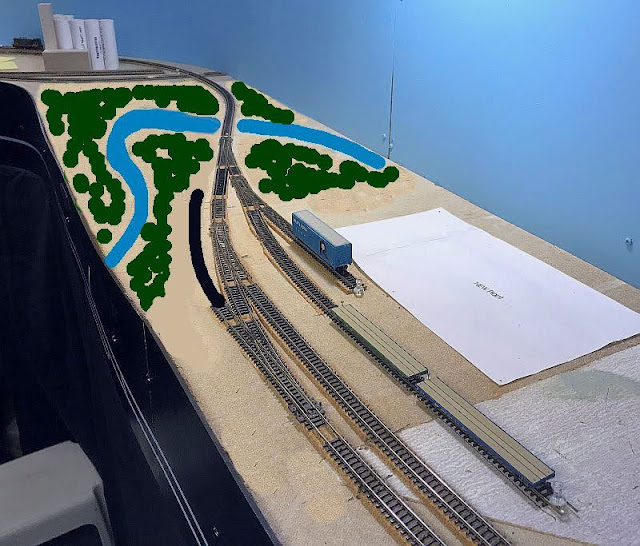
I mentioned something to one of them one time that it sure would have been much easier if I just had the forethought of designing the bridge into the scene in the first place. I could have planned the placement from the beginning instead of going back and redoing things.

With that in mind the thought came to me "Why NOT tear everything (well almost everything) and start fresh?
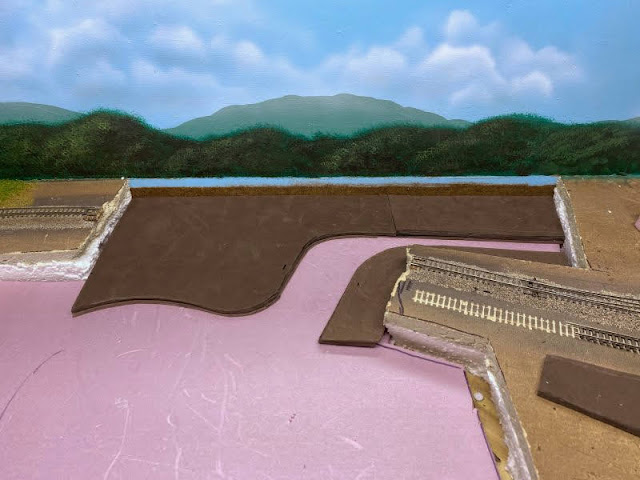
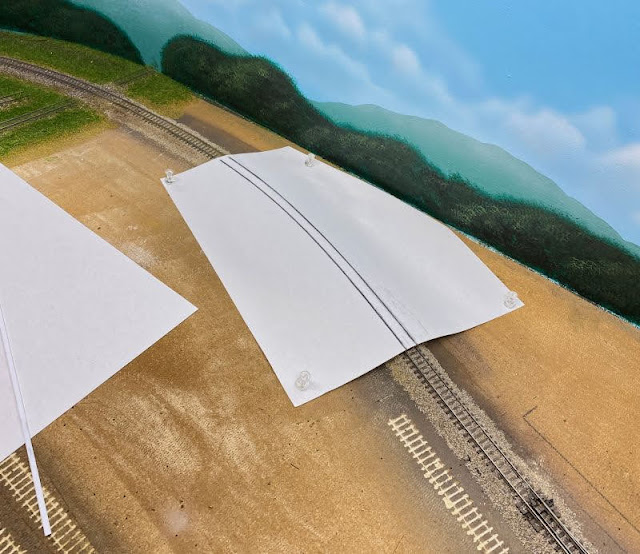
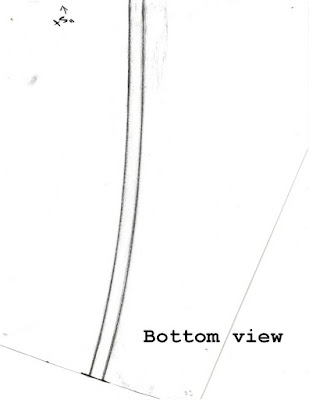
So here are my thoughts, everything within the blue line boundaries will be removed down to the plywood base.


This afternoon I roughly cut out everything marked within the blue boundaries and removed it down to the plywood.


Once things were cleaned up, I took a piece of cardboard (not show as I forgot to get a picture of it) and cut it fit the area roughly.  The cardboard served two purposes, 1) as a template for the foam and 2) it will add to the height of the the first layer of pink foam which will bring it up to the bottom of a couple of the bents and they will be sitting in the water.

Next, I got the pink foam cut to fit the area in one piece and then glued both the cardboard and foam in place.


This layer of pink foam is going to be the lowest point of the scene and I will paint the creek directly on this layer.  The banks and surrounding land will be built up with more layers of foam and sculptamold in time.

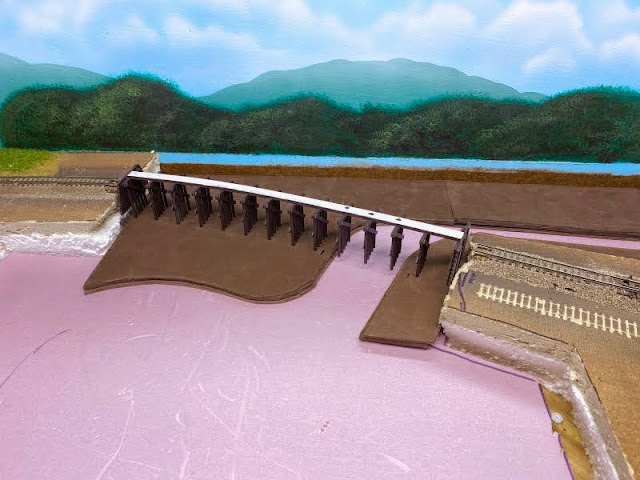
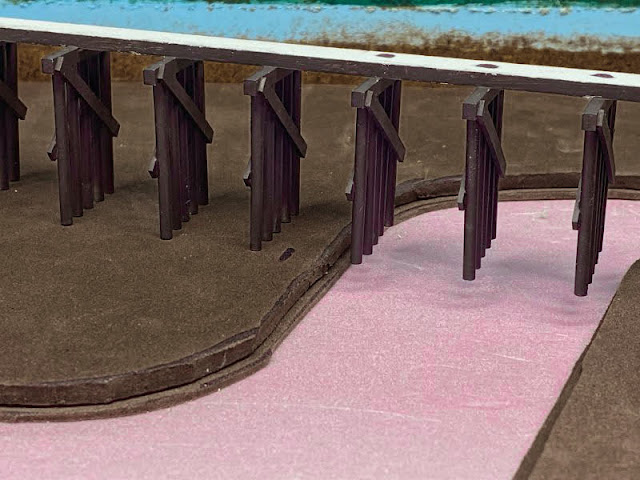
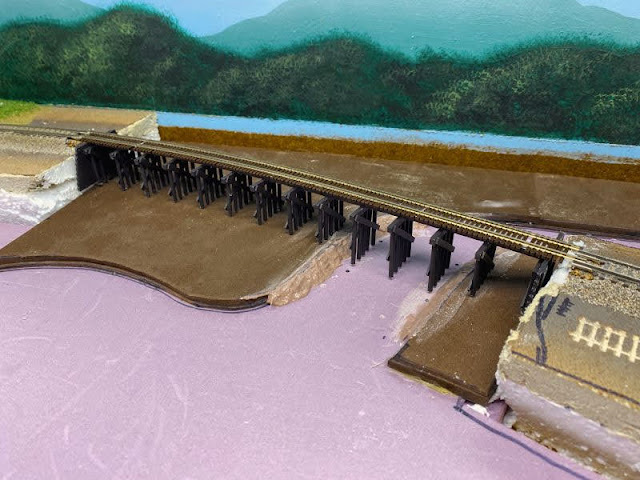
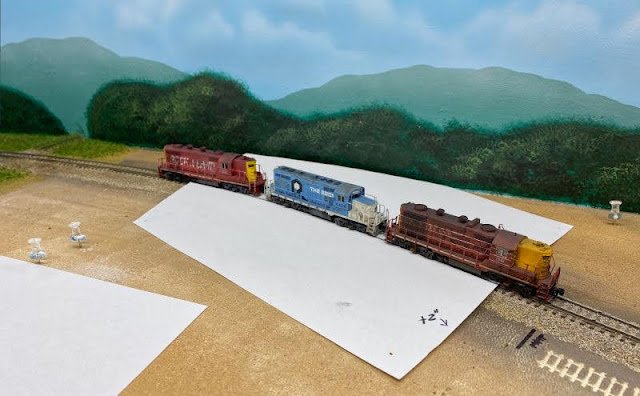
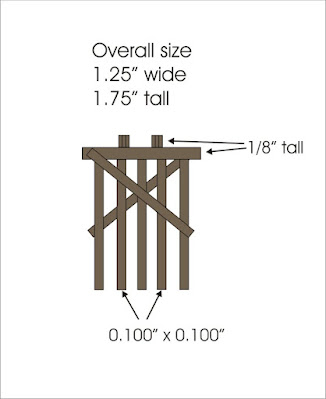
As you can see the bridge taller than the roadbed, I will have to trim the bents to fit as I move forward.  I also plan to add another layer of foam under all but 2 or 3 of the bents on the right end as these will be sitting in the water.  

On a side note, while picking up the pink foam I also wanted some foam glue, but no one had any in stock.  It seems to have sold out everywhere.
I found one tube of PL300 foam board glue but it felt like the contents were pretty hard, so I opted for a tube of this.


It's safe for foam board and I've used this stuff before.  Several years ago I used it to skin one of my wooden buildings with styrene and it's still holding!  So it should hold the foam in place. 


Tuesday, January 18, 2022

Fordyce bridge assembled

After getting the bents (or pilings) assembled, I got them painted using Vallejo German Camo Black Brown.  It's a little dark but I'll use some lighter weathering powder to lighten them up a bit and add the water marks before installing the bridge.

Once the paint was dry, I took the next step and got them assembled to the stringer.  MEK made quick work of the assembly process!  This is the main reason I chose to build the bridge out of styrene as opposed to wood.

I had to scrape a little bit of paint off of the parts where the joints would be made because I didn't waste time masking them.  After it was assembled, I touched up a few spots... good as new!


Of course, I couldn't wait to see what it would look like, so I grabbed some Micro Engineering bridge flex, cut a chunk longer enough to use and placed on the bridge and then set some locos on it.


As it is right now, the bents are about 1/2" to 5/8" longer than they need to be, so I'll trim them right before I get ready to set it in place.  This is also the area where the bridge will end up at.


Sunday, January 16, 2022

Fordyce bridge bents

I used a scrap of 1-1/2" foam and glued a layer of cork on top so I could use "TEE" pins to locate and hold the parts in place while the glue dried.  I made the plans on CorelDraw for the bents and taped them down to the foam/cork boards with a sheet of parchment paper over the plans.


For the most part, I just eyeballed the bents and cross braces.  This print and MEK made quick work of the bents. 


As they are right now, the bents are taller than I need and I will cut them to a closer length once I get the ceiling tile and foam cleared from the area on the layout.

I did much the same thing for the stringer.  Instead of making a pair of stringers, I decided to cheat and make only one stringer 3/8"wide.  Once I get things painted and assembled, I doubt you'll even be able to see it?  Doing it this way made it very easy to shape the pieces and glue them together.


If this bridge would have been positioned up front, towards the edge of the layout, I probably would have opted to use wood, but so far, using styrene, this has been a breeze to build.  Once painted and weathered, I think it'll be tough to notice that its styrene and not wood.


Friday, January 14, 2022

The Fordyce Bridge

I got a start on the bridge tonight.

First thing I did was to lay a piece of paper over the tracks, made some location marks and then ran a graphite stick over the rails.  This gives me a perfect plan for the shape of the Stringers and Bridge.


The bridge will be a bit longer than the paper template, it'll start under the left loco and end about an 1" beyond the right loco.  The styrene strips are 14" so the bridge should end up being about 12-1/2" or so long.


Then I scanned it as a .JPG file and saved it as TOP view, then flipped the image and saved it again as BOTTOM view.


I also drew up a template for the bents.  

The pilings are longer than I need.


Here's the actual bridge from Google Maps.


Saturday, January 8, 2022

Fordyce Makeover

As I progress on the layout, I have come to realize that I have fallen into the age old trap of cramming 10 lbs of crap into a 5 lb bag.

Fordyce is a good example of this.  In the images below Fordyce has two industries.  One is the Flappers Chicken Plant, things were fairly OK until I added in Gavilon (the one in the background of the first image), I added Gavilon so I could even out the workload back when I had two locals running on the layout.  I really like the premises of Gavilon but it got too close to Fordyce.  

So I never got around to working on Fordyce until now.  The easiest thing that can be done is to remove the actual Flappers building and only leave the siding for the Tallow loading of tank cars.  By doing this it'll leave me a lot of negative space for scenery and hopefully I'll be able to make some sort of view block. 

What I've come up with is to add a slight hill, maybe no more than 2" tall and add some tall trees which will somewhat block the view of Gavilon, at least at track level.  I'm also hoping it'll also help force your eye to the middle of  Fordyce a little better?

This what I had planned for Flappers at Fordyce.


It's literally a stones throw from Gavilon on the outskirts of Haskell.

So I started removing everything today and wound up with this, a wide open space and one siding for the tank cars.  It's a bit long but as a friend said "Try to make it a bit longer even though it will only be a two-spotter so there's "breathing room"


This give you and idea of how much space I have to work with.


Here's a rough rendering of what I have in mind.


Sunday, January 2, 2022

Sticking the proverbial fork in the Biddle engine facility

While I'm sure there are probably a hundred or more things I could to do to it, and thousands more detail parts to add, I'm calling it done for now.  The only thing that I may still add to the facility and yard for now would be some of the grass/weed tufts that I've made. 

I've had a real enjoyable time working on this scene!  Over the past couple of decades of reading, watching and soaking up ideas for modeling, I was finally able to bring a lot of them to the front burner and see what I could do with them.  This includes anything from trackwork to scenery to weathering and finally some photography.

I also wish to thank Mike Confalone for posting images of his Madrid engine facility which gave me the inspiration for my facility. 

Here are some images of the current scene of the Biddle facility.


These are a few that I played around with Helicon Focus and added backdrops to, but I've still got a bit of learning to do.