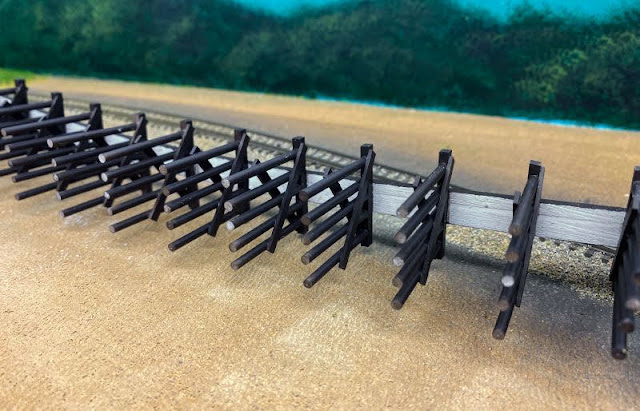
After getting the bents (or pilings) assembled, I got them painted using Vallejo German Camo Black Brown. It's a little dark but I'll use some lighter weathering powder to lighten them up a bit and add the water marks before installing the bridge.
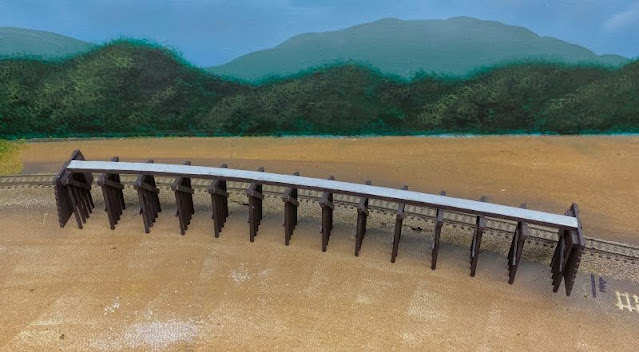
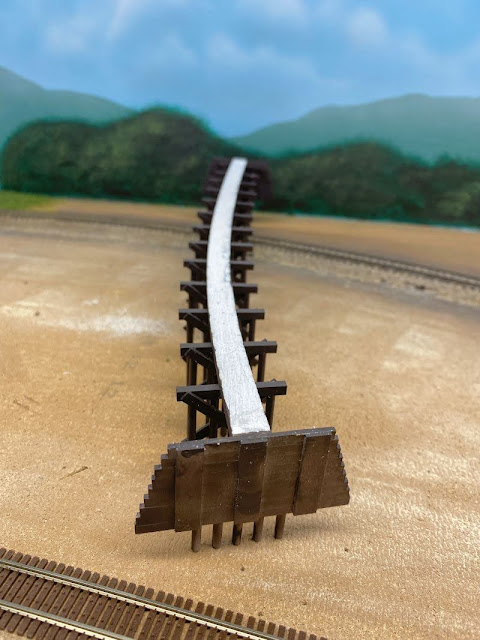
Once the paint was dry, I took the next step and got them assembled to the stringer. MEK made quick work of the assembly process! This is the main reason I chose to build the bridge out of styrene as opposed to wood.
I had to scrape a little bit of paint off of the parts where the joints would be made because I didn't waste time masking them. After it was assembled, I touched up a few spots... good as new!
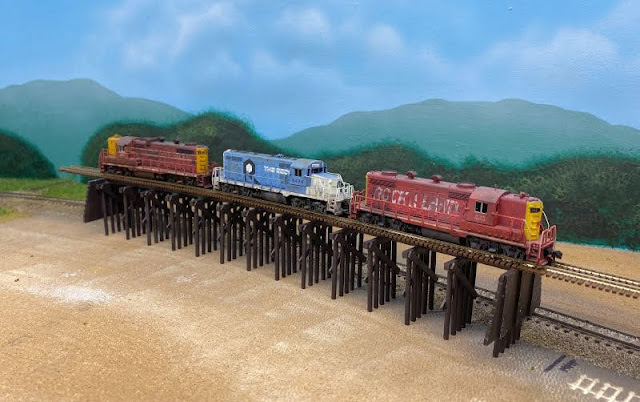
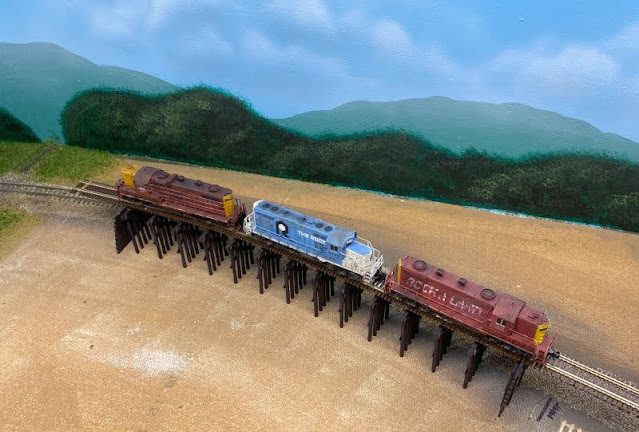
Of course, I couldn't wait to see what it would look like, so I grabbed some Micro Engineering bridge flex, cut a chunk longer enough to use and placed on the bridge and then set some locos on it.
As it is right now, the bents are about 1/2" to 5/8" longer than they need to be, so I'll trim them right before I get ready to set it in place. This is also the area where the bridge will end up at.


No comments:
Post a Comment