Wednesday, September 21, 2022

Rock Island GP35 #301

Tonight, Rock Island GP35 #301 joins the fleet.

I never knew much about this Maroon Dip scheme and wasn't aware that it was ever applied to the GP35's until I started researching paint schemes for the 35's?  It's a Plain Jane scheme but I like the simplicity of it.  I know a lot of the U25B's wore it.

I weathered it pretty much the same way that I did the last GP35 and the U33B's so I won't bore you with the details.


For comparison with the #325


And this time a quick video of the pair crossing the bridge.


Tuesday, September 13, 2022

Rock Island GP35 #325

One down, six to go.

I applied the finishing touches on the first of the Rock Island GP35's.  I originally did this loco a number of years ago and was not planning to redo it until I pulled it out to give it a look over.  There were several things that I did wrong back then because I wasn't very knowledgeable and I really didn't have that many images available, unlike there is today thanks to the internet and Facebook.  Not to mention what I've learned with weathering and some of the newer mediums we have to work with today.

Like I did with the U33B's recently, I painted it with TCP Rock Island Maroon, Micro Scale decals, and the numberboards by Shell Scale decals.  The weathering was done using mainly Pan Pastels and the oil and fuel leaks were done with Tamiya Black panel liner.  Plus I installed all four marker lights this time since I have enough to last me now.

The way the glazing sets (specifically the headlights) in these Atlas units are designed, I didn't have to replace them with Fiber Optics like I did on the U33B's.  In this case all I needed to was to glue the 804 LEDs directly the headlight glazing.  While it's not quite as bright as the Fiber Optics in the U33B's, it's a hell of a lot brighter than what it is with just relying on the surface mount LED on the DCC board.

If you look at the two pictures of both ends of the loco you can see how dim the rear lights are compared to the front light since I didn't add an LED to the rear.  Why didn't I add an LED to the rear light you ask?  I normally don't run my locos long hood forward so I didn't waste the time and effort.

Anyway enough rambling... 


Here's a side by side of the original on the left and the new on  the right.

The old one was painted with Floquil Rock Island Maroon which is a bit lighter.  The TCP is a much richer Maroon and closer to the factory color.


After as much research that I've done recently with the U33B's and these GP35's, along with all the new available photos that I've found online, the one thing I've come to realize about most of the Rock Island locomotives that were photographed in the final years of operations is that most weren't Rust Buckets. They were more grimey than rusty.  This is why the newer GP35 is a little darker this time around.

Several of the GP35's that I have planned will not be as dark or grimey but will hopefully look a lot more sun bleached and faded.  The weathering was quite diverse in the final years of the Rock.  This is what has drawn me to model this road.


Thursday, September 1, 2022

1mm Jewels for marker lights

Years ago, back in the late 80's I bet, I ran across some little tiny jewels at the local hobby shop.

They were brought to my attention as a friend used them for marker lights on his HO locos for marker lights.  Intrigued, I took a closer look at them and saw that they had them as small as 1mm.

They also came in three colors: Red, Green and Clear.  So I picked up a pack of the clear 1mm's to play around with.  


They looked to be just about the right size, maybe a tad too big.  Feeling gutsy I took a sharp #17 exacto blade and shaved off the molded part of the marker light (the part that was supposed to the lens) and left the base.  Then I took a #56 carbide drill bit and slowly started to drill in the middle of the remaining base, just enough to where the little jewel would sit into the hole.  The trick was to not drill clear through, so I twisted the bit a few times and checked the fit.

Since the drill bit had a slight angle on the tip, like most do, it left a nice little divot just big enough that the 1mm jewel dropped right in.  Then using a toothpick I applied a tiny drop of CA glue and carefully laid the jewel in place.  Viola!  A nice looking marker light.  It wasn't lit, but it reflected the ambient light just enough to sparkle and look like the light was on.

I've been doing this for years but recently I noticed I was getting low on them and knowing they'd been out of stock/production forever.  I was beginning to think that I wouldn't ever find any again.

But while snooping on the nifty little tool we have at our disposal these days: the Internet, I started in one night looking for "1mm Jewels".  Not much luck, so I kept refining my searches.  Finally I found some that looked similar but were too big.  These were Rhinestones.

So I refined my search and bingo!  I found some on Amazon but they were still a little too big.  I finally found some 1mm's on a site from the UK called mybeadsfindings.

I wound up buying two 5 packs of them, each 5 pack had roughly 1440 stones, so I wound up with almost 3000 marker lights for about $15 with shipping from the UK.  I don't think I'll ever have to worry about running out again?  Unless I misplace them...

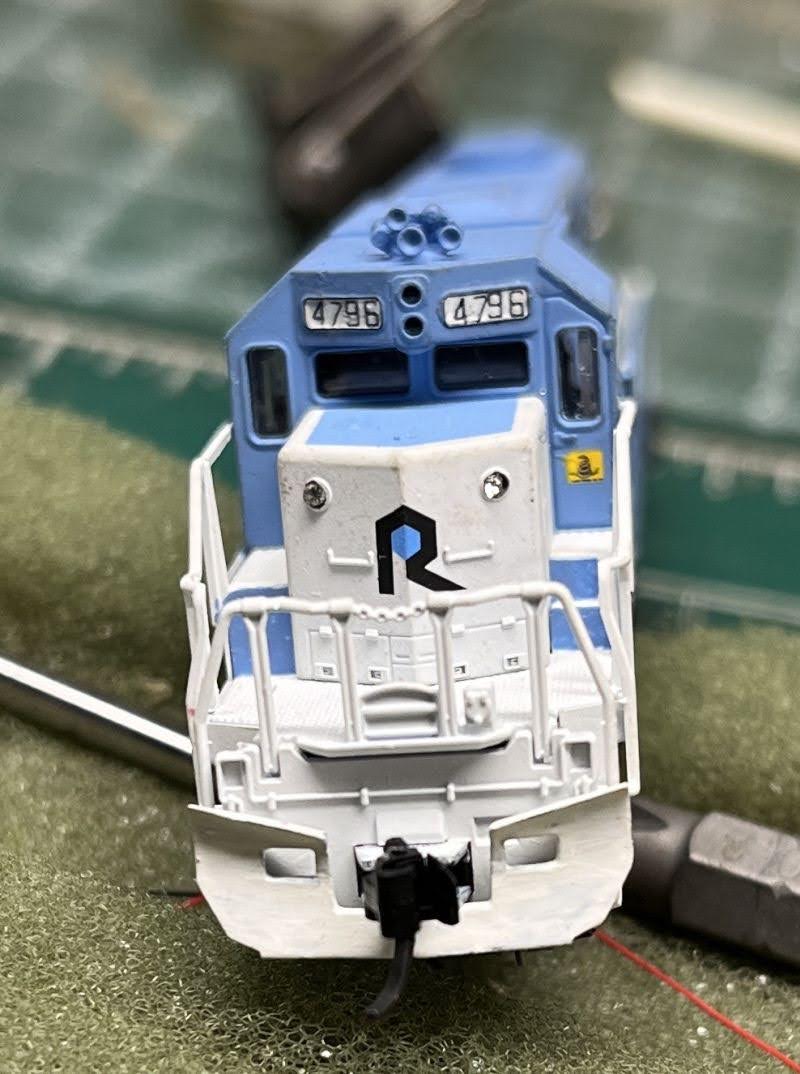
I apologize for the fuzzy images, my new phone doesn't do close-ups as well as my older iPhone 11.


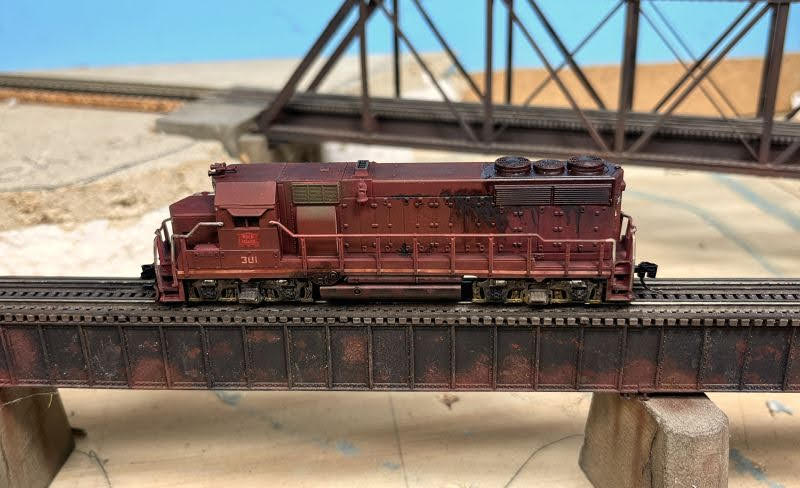
I drill out the molded in marker lenses.


Then apply a small dab of CA glue to the finished model.


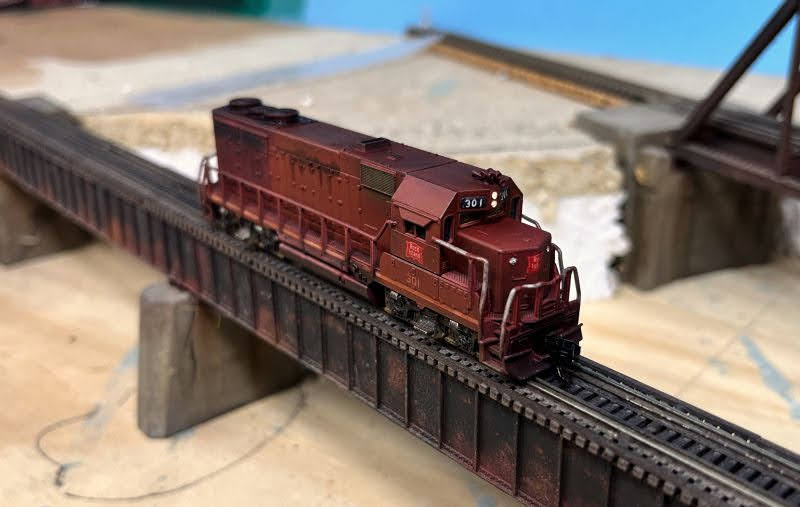
They might be a tad too large but they sure look good when the light hits them just right.