Sunday, February 27, 2022

Applying a grass base to the Whitewater creek scene

Not sure about others, but I like to post "in progress" pics of what I'm doing.  Seeing an image of the "Plywood Plains" and then another image of the finished scene leaves a lot questions for me.  Seeing multiple images of the progress for me is informative and gives me an insight of how things works and look throughout the process.   

With that said, the following images show the transformation from latex Earth to the beginning of the Vegetation.  Over the course of the last few nights I spread down a layer of full strength Mod Podge and dumped on an abundant amount of blended turf and padded it into the glue, this is the start to the grass base.  The next night I vacuumed up the excess.  Next I sprinkled on some darker colors of turf and glued it in place with a 5:1 glue mix.

I also added riprap to both ends of the bridge.

Once this all dries I'll attack the riprap with some Pan Pastels to give it dirty dusty appearance and then I can start applying the first round of static grass.


I also like having lots images so that I can go back and see what I've done before and use them to mimic or adjust things for the next area. 


Wednesday, February 23, 2022

Adding grass mats under the bridge.

Long story short, I had to get the bridge installed first so applying static grass afterwards would have been next to impossible.  So I made some grass mats.

I found a guy on YouTube who is building a gorgeous HO layout: Boomer Diorama: The Immersive Model Railroad.  If you haven't watched this guy, it's well worth the time to do so, but a warning, he does ramble on and on, but he has some awesome ideas.

In one of his videos he was adding grass tufts to his layout and did this by making Grass Mats.  After seeing how he did this I decided that it might work for adding grass under the bridge?  So I made a couple following his method and they seemed to work pretty good.

Once they were made I cut them to fit between the bridge piers and glued them down with full strength flat Mod Podge.  I also added some mats on each side of the bridge to cover the ground away from the bridges so I could hopefully use the static grass applicator to continue outward from the bridge?

I ended up with some gaps and joints between the mats, also some of the edges are kind of pronounced.  I should be able to cover and hide these once everything dries by adding some fine ground foam to help blend them together.

The rest of the uncovered area will get my usual treatment for ground cover like I did in the yard: A good layer of fine ground foam then I'll sprinkle on static grass.  Then the trees and bushes will follow.

Here's a video that I made while gluing the mats in place.  It's about 4 mins long and in the middle I sped up the video so no one falls asleep.


Saturday, February 19, 2022

First train over the Whitewater Creek bridge

This morning I felt like a kid on Christmas morning! After my first shot of caffeine I went downstairs and removed the "C" clamps and checked out the bridge.

Everything looked good.


This evening I filed down the railheads, cleaned the tracks, fired up the layout and got a couple of videos of the first train across the bridge.


Friday, February 18, 2022

Whitewater Creek, the undercuts and creek

Well I've been working away slow but sure on this simple project now for over a month.  

After getting the undercuts added with Sculptamold I gave the entire area another coat of latex earth then turned my attention to the creek.  


I had kind of planned to have the creek nothing more than a stagnate stream so I painted the bottom with a dark brown artist acrylic but I wound up with more brush marks than I wanted.  I should have thinned it with some gloss medium to alleviate the brush marks.  The color came out OK, but the brush marks stood out too much and the gloss medium I applied later made them even more apparent.


So I decided to do a pour using Woodland Scenics Realistic water and tinted it with a brown craft paint (Nutmeg) to give it a muddy appearance much like what was in the Google earth photo.  This covered the brush marks after two thin pours.


The only thing that I didn't like was the WS water was extremely glossy.  So after a lot of discussion with some friends, I decided to apply a thin a coat of Golden brand GAC 500 (a liquid medium) mixed with another Golden brand medium called Soft Gel Semi-Gloss.  After brushing a light coat on I dabbed it with a foam paint brush to make some small surface ripples.  I didn't want any white caps, just enough to kill the glass like surface and to diffuse any glare from the overhead lights.

Here I applied a sample to a test spot before applying it to the creek.


It didn't come out exactly the way I wanted, but it should be fine once I get the scene finished.

Now I can finally get the bridge installed and the mainline reconnected and continue with the scenery. 


Tuesday, February 8, 2022

The edges of Whitewater creek

Almost sounds like a movie or soap opera, eh?

I used some lightweight spackling to fill in all of the major divots and joints in the foam and then got it all painted with my earth colored latex, this will also stiffen up the surface of the foam a bit, at least now it's starting to look more like a landscape than the surface of some planet from the original Star Trek series.


Awhile back I watched a video where another N scale modeler made a bog or a marsh using Celluclay to create the main feature.  I thought I'd try his technique for the banks of the creek and help make it look like the water has undercut the edges in places.

So I grabbed some Sculptamold (that I've had laying around for years, just begging to be used) and made up a small batch of Ground Goop.  I did add some dark brown craft paint, but it only made it look pink and not brown (good thing I'm planning to repaint it again).  I made it kind of thick and started applying with a small spatula, working it into the edges, then trying to lift it up to create an undercut.  

Once it dries, I may try and do a little chipping in places and then try to smooth out the creek bed a bit then cover everything with my earth colored latex one last time.


What was I saying about Star Trek?


Sunday, February 6, 2022

Whitewater creek Terrafoaming

Every plan of battle is only good until the first shot is fired.

When I started working on this scene I tried to plan everything I could so that I could quickly get the basic scenery in place and get the track and bridge back together, then work on the surrounding areas later.  Right…..dream on.

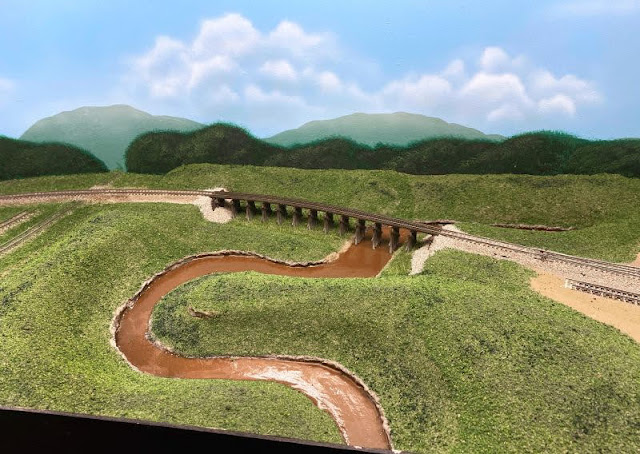
I got things tore out, built the bridge, got the land formed under the bridge.  Then I planned to get the creek painted and covered in water.  Because 
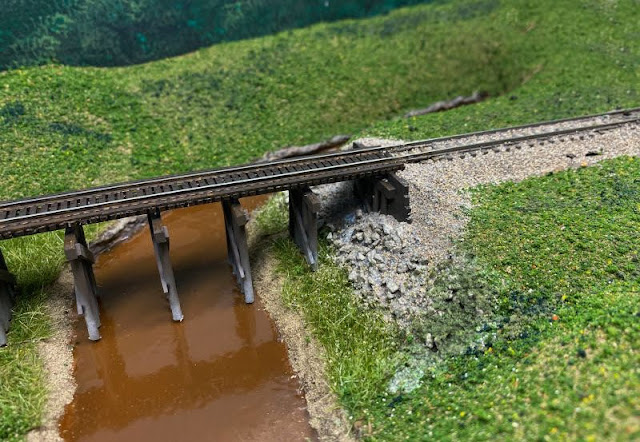
I wanted grass under the bridge I even made some grass sheets that I can into sections and slide in under the bridge between the piers.

Only thing left was to paint a small section of the creek under the bridge and then cover it with water, then set the bridge in place and Viola, done.  I was all set to do this until 
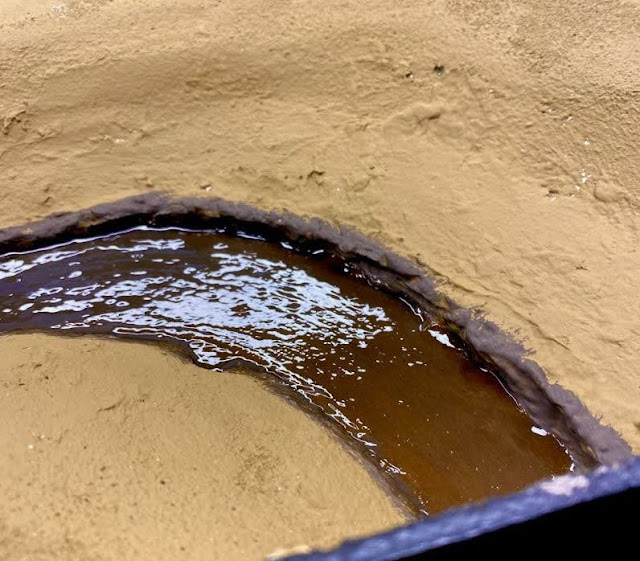
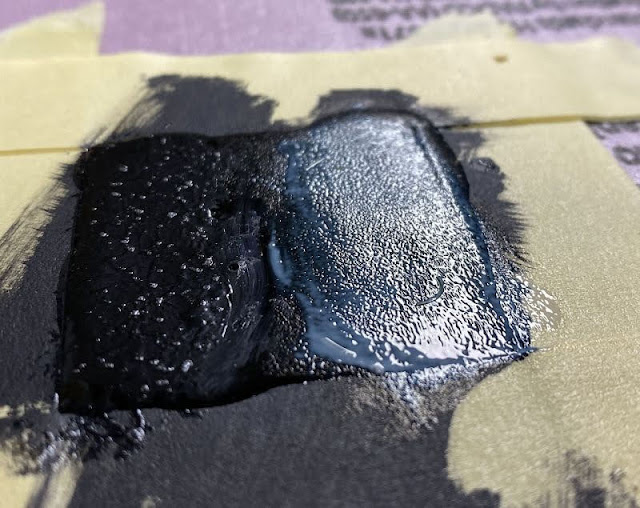
I got the water painted, then the light went on! 

“What happens if I don’t get an exact match for the water color?”  What would happen is I would see a definitive line of color change which would ruin the entire effect.  Crap!  So I moved onto plan “B”.

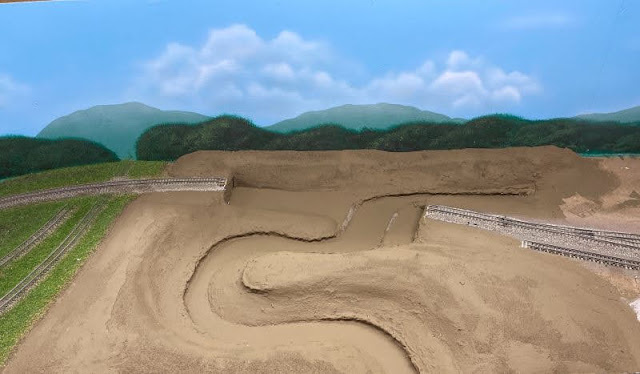
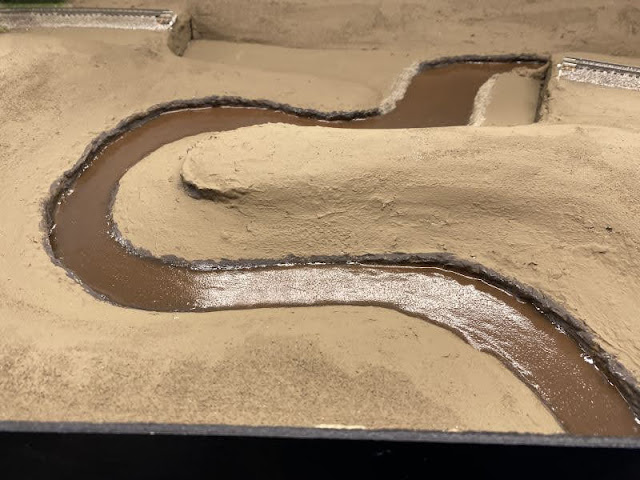
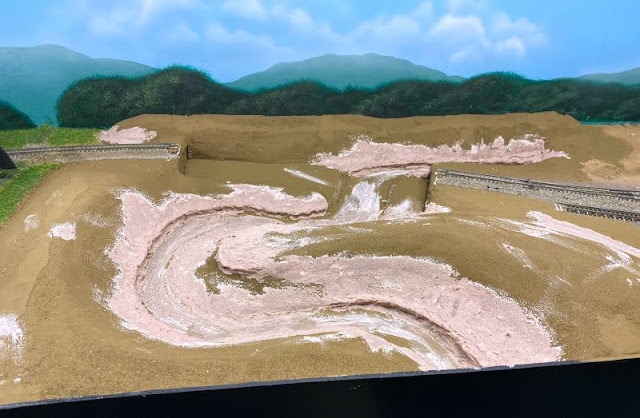
I got started terraforming the area around the bridge and lastly paint the water.  To do this I decided to try something a little different.  I’m not a big fan of sloping plaster around, but I liked the idea of using extruded foam to carve landscapes.  A While back I used some dry green florist foam to build up a crossing at the Gavilon facility and it worked very well.  I glued down a few pieces and then using my fingers I shaped them to fit the area, and then painted them and covered them in ground foam.   So I figured I’d give it a try in a larger area.

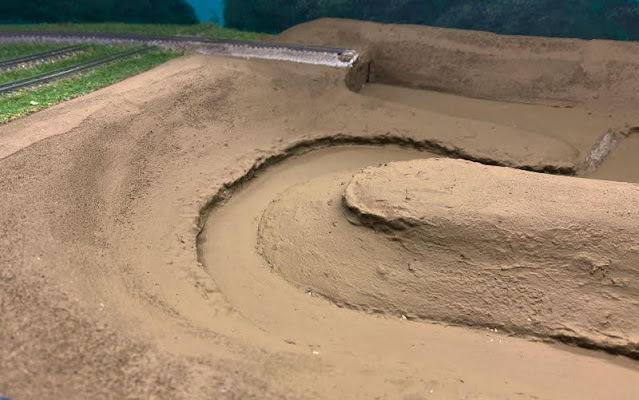
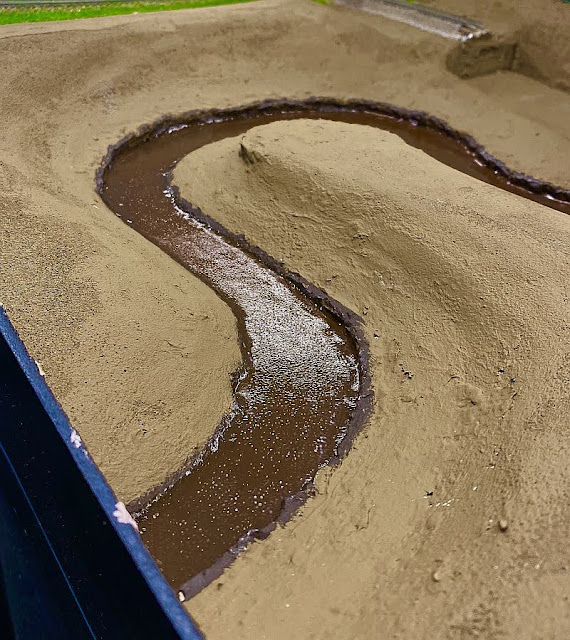
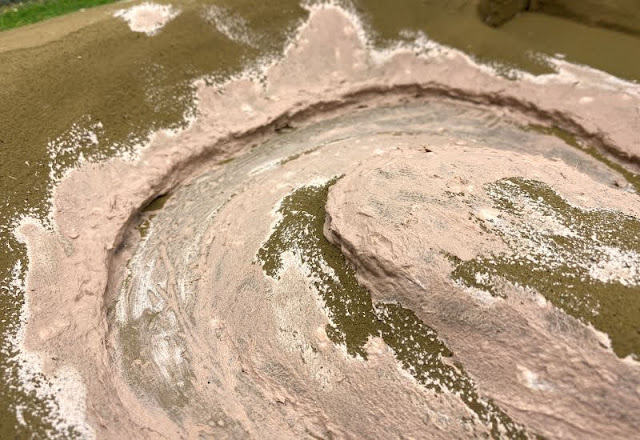
I cut several blocks to roughly fit the area using a steak knife with a serrated edge. Using the 
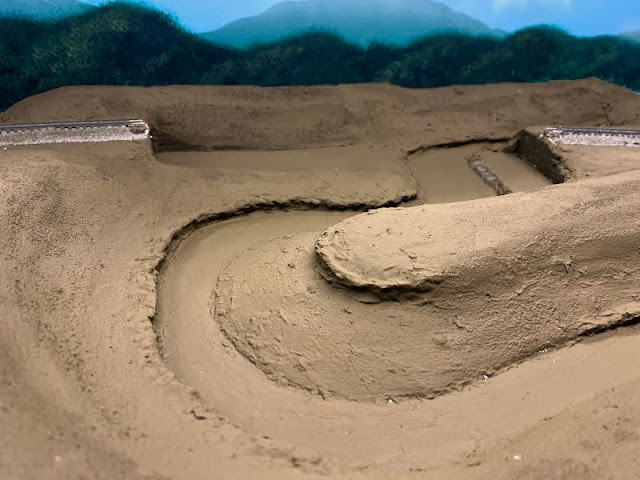
same knife I started to roughly carve and shape the foam and finished using my fingers to slowly shape and smooth it to the final shape.

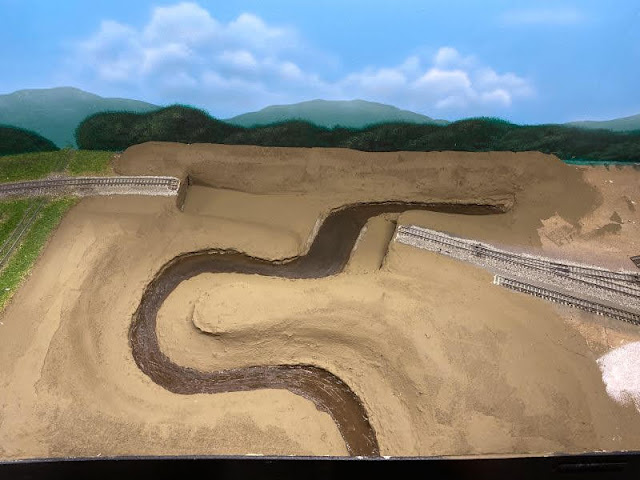
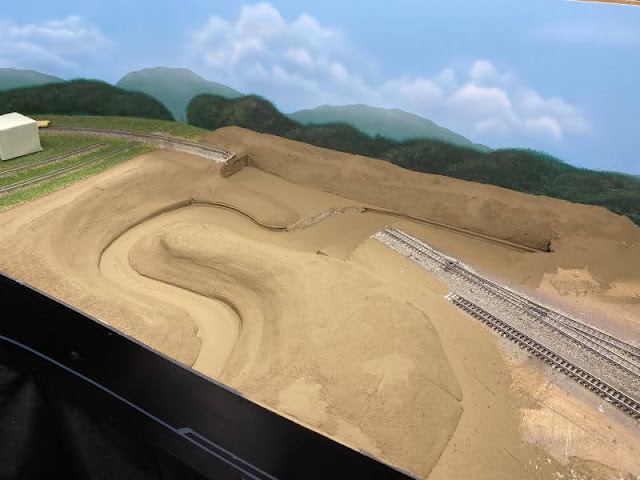
Along the backdrop I used the standard brick shaped blocks, and in the front area I started with a sheet that I found at Hobby Lobby that was 12”x18”x2”.


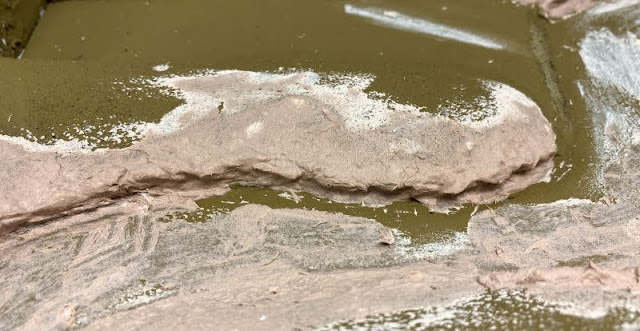
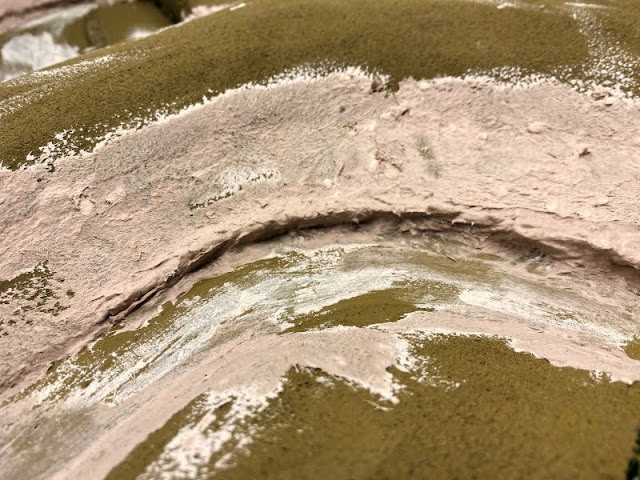
I still have a bit of final shaping to do and none of the foam is glued in place so that I can make changes if needed.  The foam along the backdrop will get painted before gluing it in place so I don't mess up the backdrop.  The rest I'll glue into place and use some lightweight spackling to fill in the gaps and smooth out some of the transitions.   

Along some of the edges of the creek I'll fill in with tinted sculptamold to form an eroded edge then everything will get painted with the basic earth color.  Once to this point, I'll be able to paint ALL of the water surface.