Wednesday, April 29, 2015

Evolution of a lake, part 4 - the finale


Last night I got a chance to apply a layer of glossy Modge Podge on the actual lake.

After applying some to the leftovers in the cup the other night I found that the Modge Podge went down and actually dried over the Quick Water and sealed it! On the left side you can see the dried Modge Podge, on the right you can see where I touched the fresh Quick Water with my fingertip.

When I applied this sample I used a round brush and stippled it on with the hopes of creating a surface with a slight chop on the water.  I didn't want any waves or white caps.


Treading into uncharted waters even further this time, I think things came out acceptable?  While I lost the mirror like finish of the lake for those cool reflection shots, I should now be able to keep it much cleaner easier and not get a bunch of fingerprints from people wanting to touch the water!  I also won't have to worry about seeing bugs, flies or other dirt stuck to the lake surface.

It also kind of helped to disguise the lake bottom, the dead fall and the rocks since I didn't get the pour murky enough.  The one thing I'm not real happy about is the the lake now almost looks blue rather than having a greener color like before.  Not sure if the Modge Podge added to this effect or that it just brought out the reflection differently? Either way I think I can live with it.  If anything I can always apply another coat of Modge Podge and this time tint it with some green paint.

I may have to get some kind of varnish to seal the Modge Podge as I seem to recall that it can be reactivated if it ever got wet?  So I don't know how it will react with the humidity.  Also the way I fixed the creeping water was to apply some Matte Medium where ever the rocks and deadfall looked wet.  Anyway, here are a couple of final shots before I conclude this mini series on the lake.

Before the Modge Podge


After the Modge Podge


As always, thanks for your comments and also for following along with me...


Just a quick note:  This is my 100th post! Hooray


Tuesday, April 28, 2015

Evolution of a lake, part 3


Next comes the water....this is something I've only tried a couple of times before years ago with mixed results.  I've never been a big fan of the poured stuff like the two part epoxies, so I've tried to steer clear of them.  The one process I did have good luck with was a plaster poured river bed, painted to add depth and then I brushed on several layers of Gloss Medium to give the watery effect.  This was pretty simple and convincing and had planned to use it again when I got a chance.   

But lately I've read about several new types that got me curious.  One was the Woodland Scenics Realistic Water, the other was Magic Water of which Rod referred to in his comment from the last post.  The WS realistic water just seemed too expensive, as most of their stuff is and I didn't know much about the Magic Water.  While doing some research on it I also came across another product that caught my eye: Quick Water, I found this at Michael's in their floral department.

Quick Water, like Magic Water is a two part resin mix.  It's also an acrylic resin with next to no oder that takes about 8-10 to setup. It's mainly used for floral arrangements for silk flowers.  It's designed to look like water in a clear vase that promises not to yellow, shrink or crack.  But there is a drawback that I found out later on, I'll explain it at the end of this post.

After getting the lake bed sealed up I got the bed of the lake painted with acrylic paints to simulate depth, added the rocks, got the Kudzu in place and then I added a some twigs to simulate dead fall. Once everything was glued into place and dried, I broke out the Quick Water!


One thing I wanted to try was to tint the pour to help things look murky.  Others have said to mix in the cheap acrylic paint to do this.  So I grabbed some the green I used for the lake bed and winged it!


I only mixed about 6 oz which was actually more than I needed for an approximate 1/8" to 1/4" pour. After stirring for the recommend 3-5 minutes and I added the paint, stirred a bit more and drew a heavy breath and began the pour!  It was self-leveling and went on very well!  I used the stir stick to help coax it around and into the entire area. There were a few bubbles, but they were removed simply by blowing gently across the surface.  Once poured I shut the lights off and went upstairs. I did return a few times to make sure it wasn't leaking, thankfully it never did.

Here's how it turned out the next day.


All in all I was very impressed!
The only bad things I noticed was: 

One, It did creep up into the rocks pretty good, but this could be taken care of fairly simple and it wasn't terribly noticeable since the rocks were not a straight line like the edge of the fascia.

Two, The tinting wasn't as murky as I had wished.  But I think I have a plan to help make it better.

Here are some shots that I was screwing around with afterwards.


I do like the way it reflects. This would have to be kept very clean to maintain this level of reflections.  This next shot I got the itch to play around with GIMP to see how things would look if I was more proficient with this type of software, don't laugh too hard.


Now, as for the drawback I mentioned earlier.

After 48 hrs or so, my curiosity got the best of me and I couldn't resist any longer. I went down, turned on the lights and just a like person who sees the sign "Wet Paint", I reached out and touched the lake with my finger!  Expecting to find a hard, slick surface, my finger instead was stuck to the surface like a fly on flypaper! It was so sticky I didn't think I was going to get my finger back without taking some skin off!  WTH?  I went back upstairs and sat down at the computer to do some research on Quick Water.

I found several pages where others stated that the Quick Water took longer than 48 hrs to fully setup and yet others had stated that it never got solid, but wound up with a consistency like a Super Ball. Sometime the tackiness went away, sometimes not.  Great, just great!  Now I had a great looking lake that was nothing more than a giant flytrap!

I Suppose I should have done what most do and that is to test something off layout.  That way if it goes wrong it can be tossed into the circular file without ruining the layout.  But I guess I was a little too excited to do this. Besides everything I read about this product didn't give any indication that the final consistency would being rubbery or sticky.  Common sense would say that if this was used for a floral arrangement, you wouldn't want it to collect a thick layer of dust over time that couldn't be cleaned off.  But then Common Sense is pretty much a lost art these days.

I do have one trick left up my sleeve so I'll see how that turns out and post it...  

Jump to "Evolution of a lake, part 4"


Sunday, April 26, 2015

Evolution of a lake, part 2


Last night I added the heavy vegetation around the lake, namely the Kudzu.

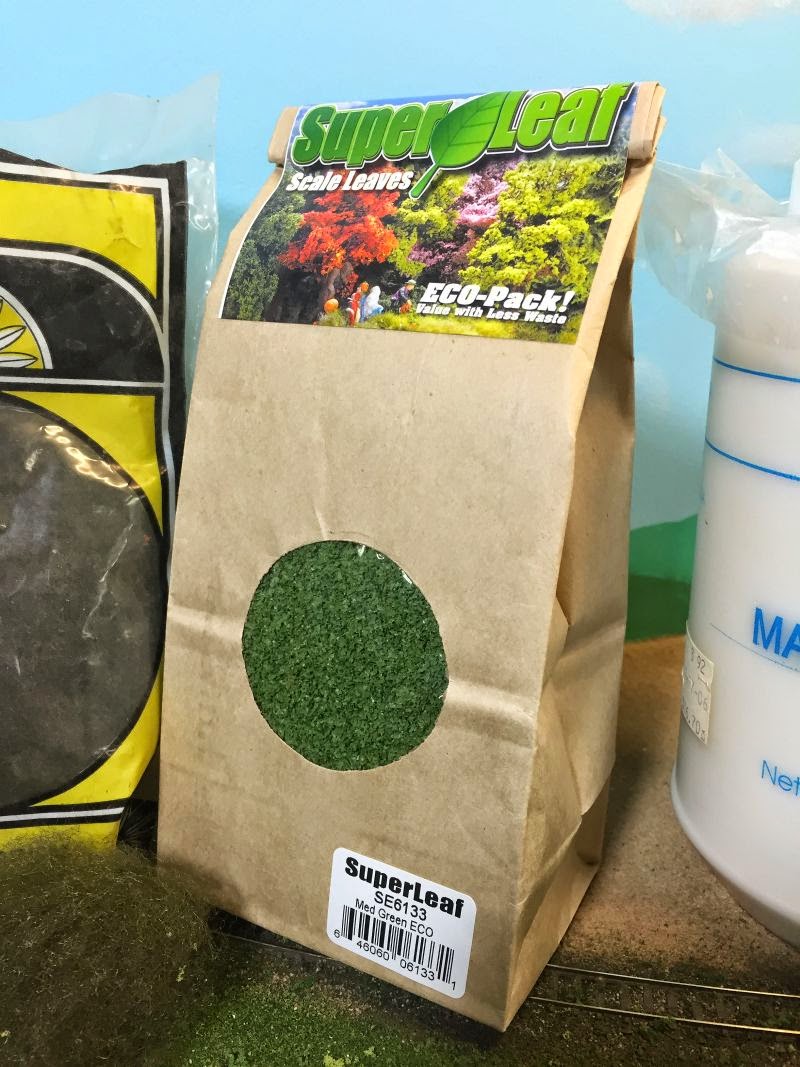
To do this I started out with Woodland Scenics green poly fiber, Scenic Express Super Leaves and Matte Medium to hold it all in place.


I tore off a small batch of fiber, then I stretched it laterally very thin in both ways directions [almost so thin that it came apart] and kept it as flat as possible.  I wasn't trying to make a tall bush like plant, Kudzu is more of a vine that lays pretty flat like carpet unless it's covering up a tree, house, telephone poles or anything else where it can go vertical, so I didn't want it very thick.

Once I had the fiber stretched out, I glued it into place with some Matte Medium by placing several blobs of it here and there.  Then I started laying the fiber down on one end and pressed it into place making sure it came into contact with the glue. Any type of glue can work for this, but be sure it has some body to it.  I've read where others have used Alene's Tacky glue, Woodland Scenics tacky glue, as well as caulking.

Once it's been pressed into place, it has a tendency to stay put as the ground foam acted almost like Velcro.  I finished applying the rest of the needed fiber and then let it dry overnight. I apologize for not getting a shot of this as I got a little ahead of myself the next night when I started to apply the leaves.  Before I began to apply the leaves, I trimmed up the fiber so there wasn't any stray strands sticking up.

To apply the leaves I suppose there are several methods, but I chose to use hairspray this time.  I started off by masking some of the tracks with masking tape and made some paper masks from newspaper to cover the lake and most of the rocks so the leaves wouldn't stick where I didn't want them [no sense giving the Kudzu anymore of a chance to take things over!].

After getting the poly fiber soaked with the hairspray I began carefully sprinkling the Super Leaves onto the poly fiber and padding them into place.  Along the base of the rocks I broke up some twigs to simulate deadfall and lightly glued them down as the "Water" will lock them into place later.  


As you can see I also stretched it down over the rocks in a few places so it looks like it's trying to spread out. 

This is something I've been wanting to do since I decided to model this section of The Rock!  Besides, how does one go about modeling the south without Kudzu?

Jump to "Evolution of a lake, part 3"


Wednesday, April 22, 2015

Evolution of a lake, part 1


Last week I read where the county was almost finished with the renovation of the small lake near Malvern.  There was a lot of erosion over the past few years and the W&OV had expressed concern that it was getting close to their tracks.

The W&OV had offered to bring in the needed material to help shore up the area if the County would do the needed work.

Last week I ventured down the tracks a ways to see how it was coming along.  From what I could tell, most of the rockwork was done and there wasn't a lot left to do.  The first thing I noticed was how fast the damn Kudzu returned!  If I hadn't read about the the renovation, I would have never know they had done anything!  It's been very wet this spring, enough so that the Kudzu has covered the entire area within a few days!

They refer to Kudzu as  "The plant that ate the South"  It's amazing just how fast this stuff grows and makes you feel that if you don't keep moving you'll get covered next and wind up as a leafy lump!   

As for the lake and new shoreline, Hmmmm, looks like I might have to get my boat out and restring some line!     


*******


I have been steadily working on scenery in Malvern over the last few months. Most of the area is covered to a certain point with some kind of basic scenery as of now and the only thing that was left was the big white step at Malvern.  

I planned for some sort of a lake or river from the beginning, but wasn't sure how to pull it off.  While looking at some pictures on Google I came across some shots of lake edges that were protected by a large amount of piled rocks, much like a lake dam.  

I figured that this might work well with as steep as it was.  I actually made the lake bed a little lower than I should have when I first built the benchwork for Malvern.  


The first thing I did was to cut into the ceiling tile and foam and carve it back to form a slope and smooth things off a bit with joint compound.


Once dried I painted the vertical areas with some cheap acrylic paint, Burnt Umber worked for a earthen color.


Next I used a dark green acrylic paint and mixed it with gray and black to give the lake bottom color and depth.  Lighter near the shore to darker as I got further away from the shore.


Then came the rocks.  I found some 1/4" limestone from the rear driveway, but most were too big for N scale.  So I sorted through them until I found enough that were roughly 1/8" to 1/4" in size.  I also found some Woodland Scenics medium course gray talus at Hobby Lobby that was smaller than the rocks from the driveway and matched the color of the larger rocks pretty close.  

I attached the rocks to the vertical area by brushing on some full strength Matte Medium I had.  I laid down several courses of the larger rock along the bottom then poured on the smaller talus on top and above.  Once the Matte Medium dried, I went back over the rocks with diluted white glue and let it run down the rocks.  You can see that it hasn't quite dried when I took these pictures.


Once the glue had dried the next thing I did was to glue down a layer of blended turf over the brown paint above the rocks.  


Next comes the heavy vegetation and water...

Jump to "Evolution of a lake part 2"


Thursday, April 2, 2015

An MKT medley


Several years ago I met a modeler (Chuck C.) on and through eBay after he listed a custom built N scale F7B that he painted up for Rock Island.  It was done in the ex-Union Pacific scheme that was re-lettered to Rock Island.   After seeing it, how could I resist?


A few months later he posted another unique locomotive that he built and this one really caught my attention!  Being a fan of the KATY I had a hard time not clicking the "Buy It Now" button. The only reason I didn't was because he built it using an early KATO F7 that wasn't DCC ready and I was just not a fan of those early KATO F's

So I decided to drop him an email to ask him if it was possible to recreate that loco using a Intermountain F7A?  He replied  "Oh sure, that wouldn't be a problem at all"  So we set the wheels in motion and today, in the mail, I received that locomotive! 

Thank you Chuck!


And a group shot


The rear unit is a stock Atlas GP40 from Atlas's first run.
The lead unit is another Atlas GP40 that I painted and weathered up a few years ago.  The 401-B will probably be seen with these units on the Little Rock Line whenever the FPPX coal train makes it's run. 


In the late 80's or early 90's a friend and I was lucky enough to catch this unit on film in person on one of our many trips to Kansas City.  I think I used a whole roll of film on it that afternoon  but I never got around to scanning the slides so I had any digital images of it. 

A bit more about the MKT GP40 #238


I modeled this as wearing the Penn Central scheme that it wore while working for Conrail. Later it was sold to the MKT who hastily added a road number over the faded CR number under the cab.

After the Rock shut down, the OKT [Oklahoma, Kansas and Texas] was formed and parent company, the MKT, was buying second hand power to in order to serve some of the Rock Island customers that was suddenly left without rail service in those states. 

It wasn't until after the 1984 merger of the MoPac, UP and the WP, that I seen my first MKT locomotive in person!  The MKT got trackage rights over the MoPac from KC, MO north to Omaha, NE. and to Lincoln, NE as well.  This was nick named "The Siberian Division" by the crews as this was the farthest north that MKT operated.

It was on one of these trains that I first seen this locomotive but I had no idea what the story behind it was.  All I knew was that it was a Penn Central Locomotive mixed in with 4 other MKT locos, and that wired to the handrails with bailing wire, was a large piece of cardboard that someone using a can of black paint, sprayed on the letters "MKT".  I re-created the sign by printing the lettering onto a scrap of a brown paper sack, then I glued it to the railing.

That vision stuck with me for 28 years until I was able to re-create it.  Now I can add the 401-B to my MKT roster.