
According to Wikipieda:
Pinus taeda, commonly known as loblolly pine, is one of several pines native to the Southeastern United States, from East Texas to Florida, and north to southern New Jersey.[2] The wood industry classifies the species as a southern yellow pine.[3] U.S. Forest Service surveys found that loblolly pine is the second-most common species of tree in the United States, after red maple.[4] For its timber, the pine species is regarded as the most commercially important tree in the Southeastern U.S.[5][6][7] The common name loblolly is given because the pine species is found mostly in lowlands and swampy areas.[8]With my layout based in Arkansas and Louisiana, there are a lot of deciduous trees, but pine trees also make an appearance. So it seems only natural to include these on the layout.
There have been 100's of ways to build model pine trees described over the years, but I never really looked into it until now.
While surfing Google on "How To's" I found a video on YouTube where a modeler used the Bottle Brush technique to make birch trees for his layout. It's not a special technique, but what stood out to me was the fact that his trees did not wind up with a "pointy top" that associated with most pine trees and the way he created his trunks.
The Loblolly Pines have more of Rounder top and I thought his method would get me the results I wanted?
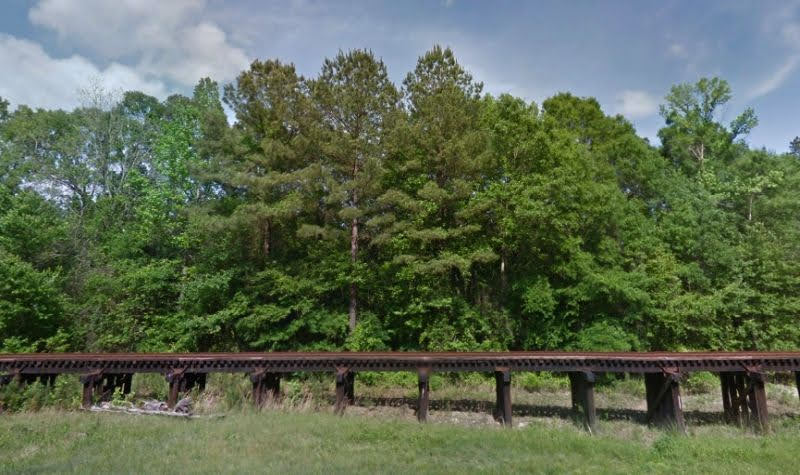
Here are a few images of the Loblolly Pine


I started making the trees with the typical materials: Wire for the trunk and Sisal for the branches. After getting them made this is what I wound up with.

The modeler used 18ga copper wire, which is probably the better choice but with the cost of Copper at the time of this writing I chose to use Floral wire that I found on Amazon. Most Floral wire is coated in a green material but I stumbled across some that were coated in Brown.
I was little worried about not using the softer copper wire but decided to give it whirl with the cost difference. (In the end, it worked just fine.)
The next step he did was to make the trunks thicker which would hide the twisted wire. He did this by melting Crayons and applying it to the wire with a spoon. So again I turned to Amazon to find some cheaper supplies. I found a small one piece double boiler that would fit a small, older pan that I had on hand (and that the wife wasn't using).
I also started looking for Brown Crayon in bulk. Wasn't sure what I would find here but I did a search and to my amazement, I found Brown Crayons in bulk.
Here's a list of what I ordered from Amazon


No comments:
Post a Comment