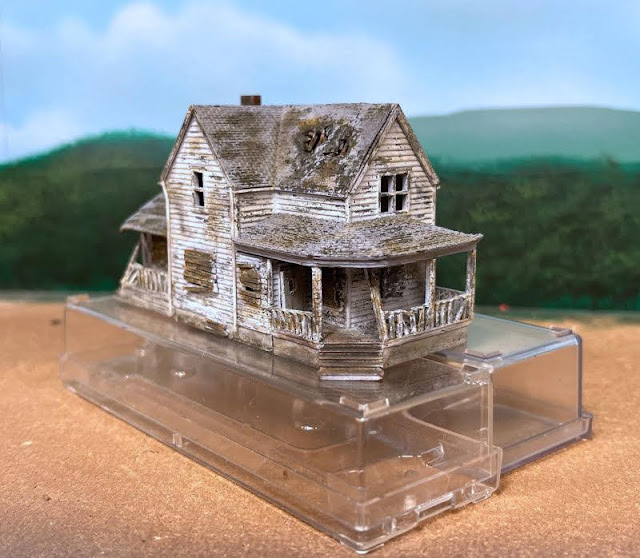
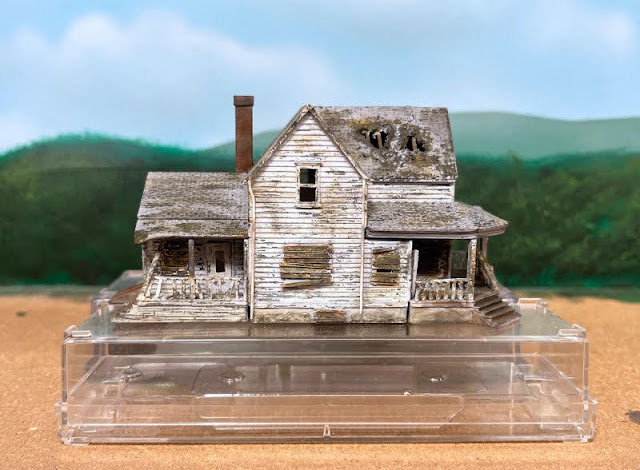
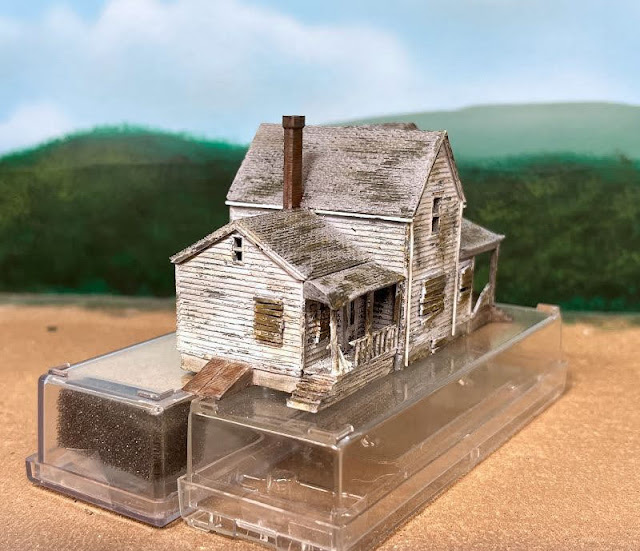
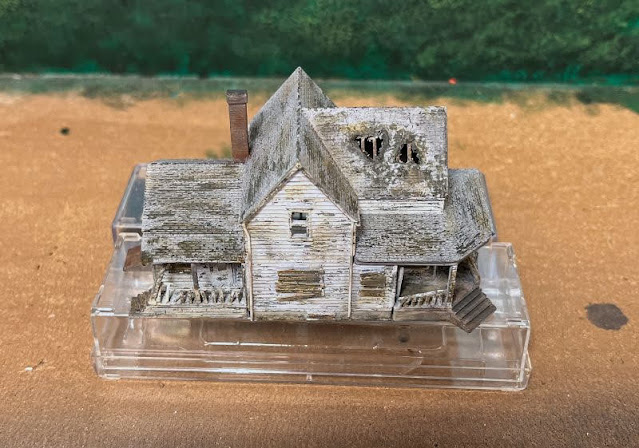
After getting the foam glued down, I figured I should try and figure how much room I'm going to need for the farmhouse, the barn and the other little outbuildings before I start shaping the foam as I'd like to leave that area flat.
With that in mind I started working on Delony's Barn from Showcase Miniatures, but moved it aside as I ordered some Roket Glue Cardstock glue from Deluxe.
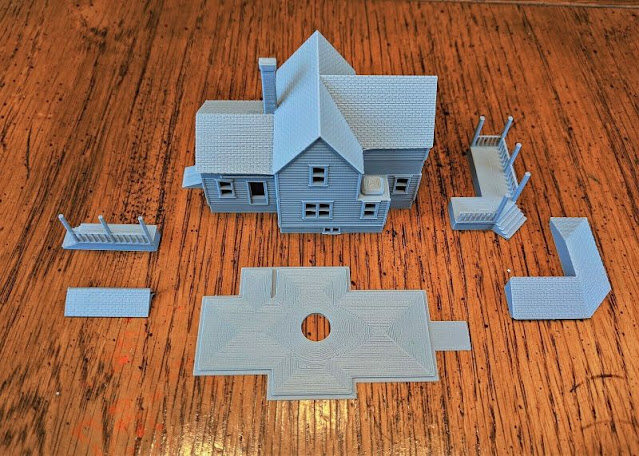
While I'm waiting on that to arrive, I pulled out the 3D printed farmhouse that I snagged off eBay recently. It's not a bad model and it's my first 3D kit I've worked on. I think it's a resin print? It was under $20 with shipping so I figured it wouldn't be all that good, but it actually ain't too bad.
Even if the print quality wasn't very good, seeing how I plan to make this into an abandoned farmhouse, I'll be covering most of it with weathering and what shows through should add to the dilapidated appearance.
I started out by filing the inside of the windows, cleaned up some fuzzies that were left between the porch railings and spindles, sanded the porches and roofs so they fit a bit tighter, but like I said, since this will be in the process of deterioration, I don't see the need for perfection here.
I watched a video by Boomer who did an old farmhouse similar to this and tried to follow him for some ideas to add a bit of detail. The first thing I did was to add some fascia on the gable ends and some gutters and will add a few downspouts as well.
As you can see in the last image, the window frames are rather rough, but for what I plan to do to them, it shouldn't matter much, plus it should add to the deteriorating look.
As I mentioned earlier about the windows, I wanted them boarded up. Not sure if I'll board the upper windows or not?
The next thing I worked on was the porch railings, I wanted them in bad shape. I cut and broke some of them, then glued them back in place. Some of the others I warmed them up with the help of a lighter so I could bend them slightly.
I have some plans for the roof, but I'm working on that now.

